The BeagleBeer Flying Squirrel Controller, first introduced in Operation KEG Part 3: Bespoke Kegbot, required enough rework that I decided to re-spin the printed circuit board (PCB). I corrected the design errors uncovered during the debugging process in the schematic, remade the PCB layout and manufacturing files, and dispatched the design files (available on Github) to Sunstone Circuits. Two weeks later, on Wednesday 24 April, I arrived home to find a small UPS package containing two BeagleBeer Version 2 PCBs on my doorstep. I handed over a bare PCB and the parts kit to my co-worker Sebastian Patulea, who graciously volunteered his time after hours to assemble it in exchange for lots of free beer. He had finished soldering on the components by Friday evening.
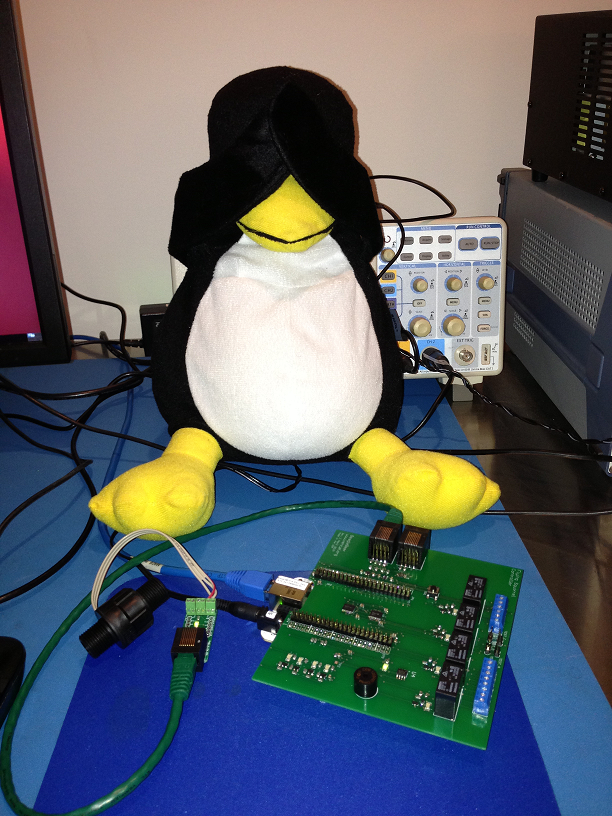
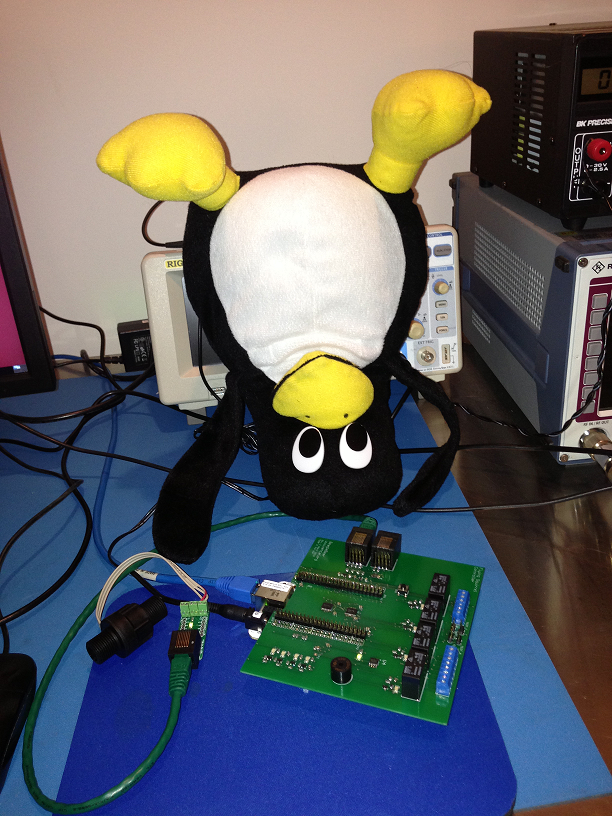
A business trip to Seattle prevented the much-anticipated Smoke Test from taking place immediately. (You may recall that it failed spectacularly the first time around.) My loyal lab assistant waited impatiently as I stumbled around in a post-redeye catatonic stupor on the evening of Wednesday 1 May. I apologetically informed Tux that we would not be able to test with beer during Venture Café the next day, but if he could just sit tight for one more week, his fervent wish would most likely be granted. In order to humor him, I connected the BeagleBeer Version 2 to the BeagleBone computer and, after pouring myself a shot of rye whiskey, turned on the power.
At first, Tux couldn’t bear to look. But it soon became clear that all of the fixes outlined in Operation KEG Part 5: Dum Spero Spiro! just worked. The BeagleBone boots with the BeagleBeer board attached now that none of the system boot I/O lines are being driven at power-up. Both temperature sensors, one on the Coaster board and a second on the BeagleBeer controller itself, happily reported temperatures when I queried the 1-wire slave devices from the command line. No dramatic blue smoke or melting plastic to speak of. Tux rejoiced. I drank more whiskey.
In order to perform a meaningful alpha test with beer during Venture Café, we needed to shift gears and focus our attention on the readout software. The Arduino in the Kegbot system controls the Kegboard with library of C programs. Blocks of Arduino code are referred to as sketches, all of which include the functions setup(), used for initialization, and loop(), the main execution loop. Because the BeagleBone has a more powerful processor and runs a full-blown Linux operating system, programs targeted to it have fewer restrictions. Nevertheless, maintaining the basic structure of an Arduino sketch has numerous advantages when interfacing to low-level hardware.
We had several reasonable choices of programming languages: 1) write a shell script to interact with Linux device drivers directly from the command line, 2) write a C or C++ program, 3) use the Cloud9 IDE included with the BeagleBone Angstrom Linux distribution to run bonescript, described on the BeagleBoard website as “a node.js-based language specifically optimized for the Beagle family and featuring familiar Arduino function calls, exported to the browser”, and 4) use PyBBIO, a Python library for hardware I/O support for BeagleBone. Although intrigued by the Node.js-based bonescript approach, I chose PyBBIO, as it seemed like a perfect excuse to finally learn Python.
The Python program for the first field test has 3 primary functions:
1. Configure the Flow Sensor A data line as a GPIO input and as a falling edge interrupt
2. Define the behavior of the flow sensor interrupt
3. Read out the 2 temperature sensors and print the temperature in both Celsius and Fahrenheit to the console once per minute
In order to avoid re-inventing the wheel, I took to Google in search of Python code for reading out the DS18B20 temperature sensors. A code sample from the Adafruit blog targeted to Raspberry Pi immediately presented itself. I modified the code slightly to accommodate multiple temperature sensors by adding the argument nsens to the readout functions.
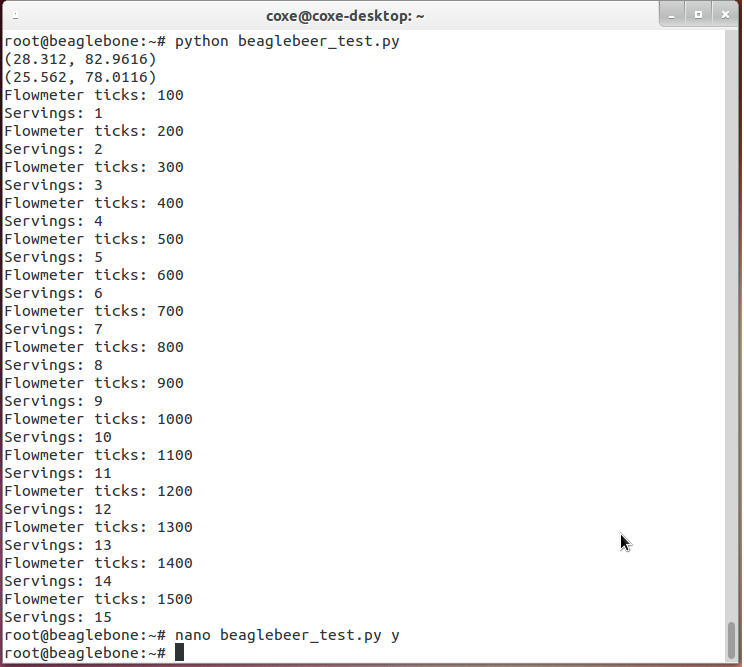
When beer flows through the Swissflow SF800 flowmeter, the meter emits approximately 5600 pulses per liter of liquid traversing the sensor. A 9 oz. Vegware cup = 266.2 ml = 1490 counts. A 250 ml serving of beer at Venture Café should register ~1400 flow sensor pulses. The interrupt service routine (ISR) fires every time the Flow Sensor A data line transitions from high (3.3V) to low (0 V). I included two print statements in the ISR to display the raw number of flowmeter ticks as well as the number of 250 mL servings dispensed to the console. To inspect the code in its “I’ve never programmed anything whatsoever in Python before this week” splendor, click here.
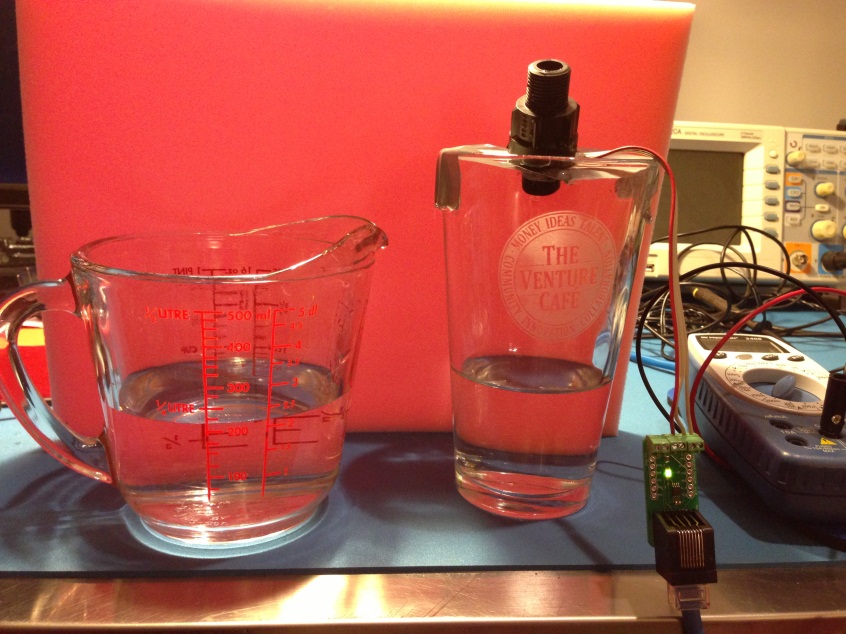
I busted out the quick and dirty flow testing setup again to ensure that this scheme behaved as expected. Lo and behold, it did! [I set a “serving” to be 100 counts to avoid pouring excessive amounts of water through the sensor.] The numbers in parentheses at the top of the display are the temperature readouts in the format (degrees Celsius, degrees Fahrenheit). The logic analyzer screen capture clearly shows the flow sensor pulse train.
For the maiden beer test at the Café, both the BeagleBone and a laptop must be connected to the same LAN, which will require a wireless bridge to share a CIC WiFi link. I will log in to the
BeagleBone over an SSH connection from the laptop and the results will print out to an old-school terminal console. Please don’t be alarmed if you see Tux keeping watch over the hardware setup. In
addition to putting the system through the paces in a realistic environment, the Beer Experiment will also serve to calibrate the flow sensor. I’ll be able to change the number of counts per serving
on the fly as I dispense beer.
Provided the test succeeds, we can forge ahead with end-to-end Kegbot integration:
• Add a UART Packetizer function to send the temperature and flow sensor data to an Android tablet running the Kegbot app over a serial link (USB cable). The Android app will then sync to the Venture Café Kegbot server, a web app that resides in the Amazon cloud, over WiFi. The web server includes a backend database that will enable us to perform a wide array of beer consumption analytics.
• Add code to control the buzzer on the BeagleBeer controller so it can sing little songs on command to Café visitors.
• Add a “the keg is about to kick” warning for the bartenders to the Kegbot app.
• Add support for the RFID card reader for drinker authentication.
• Add support for all four taps of the kegerator.
I’ll have enough material to ensure that the Operation KEG series will live on for the forseeable future. Good times!


