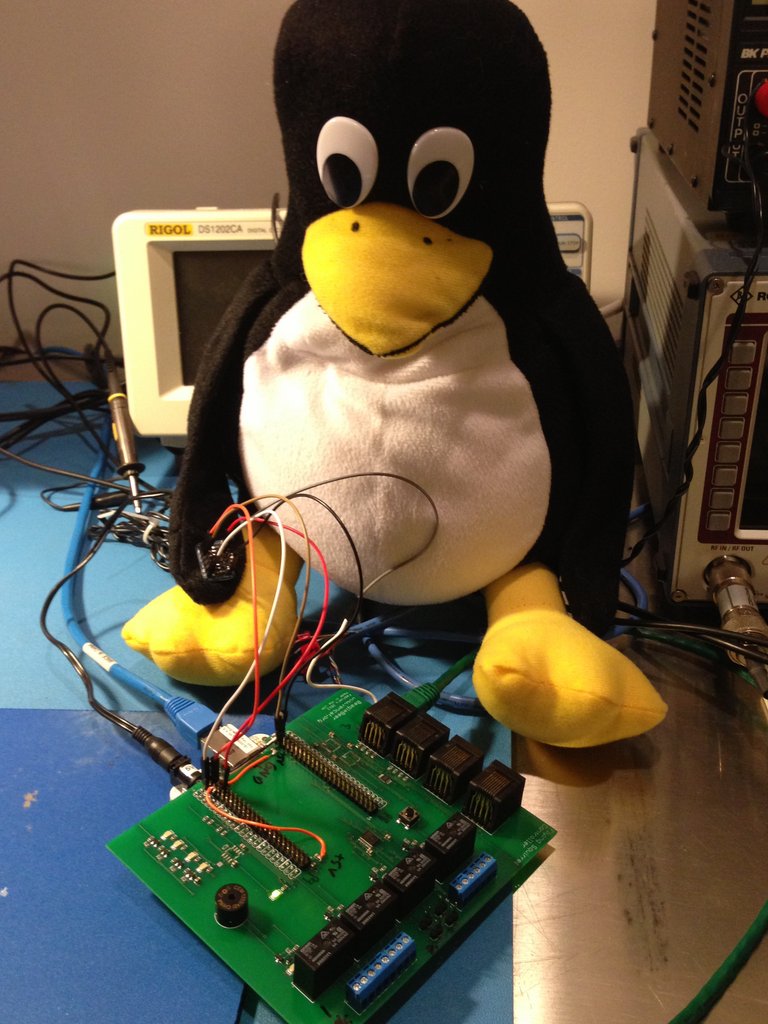
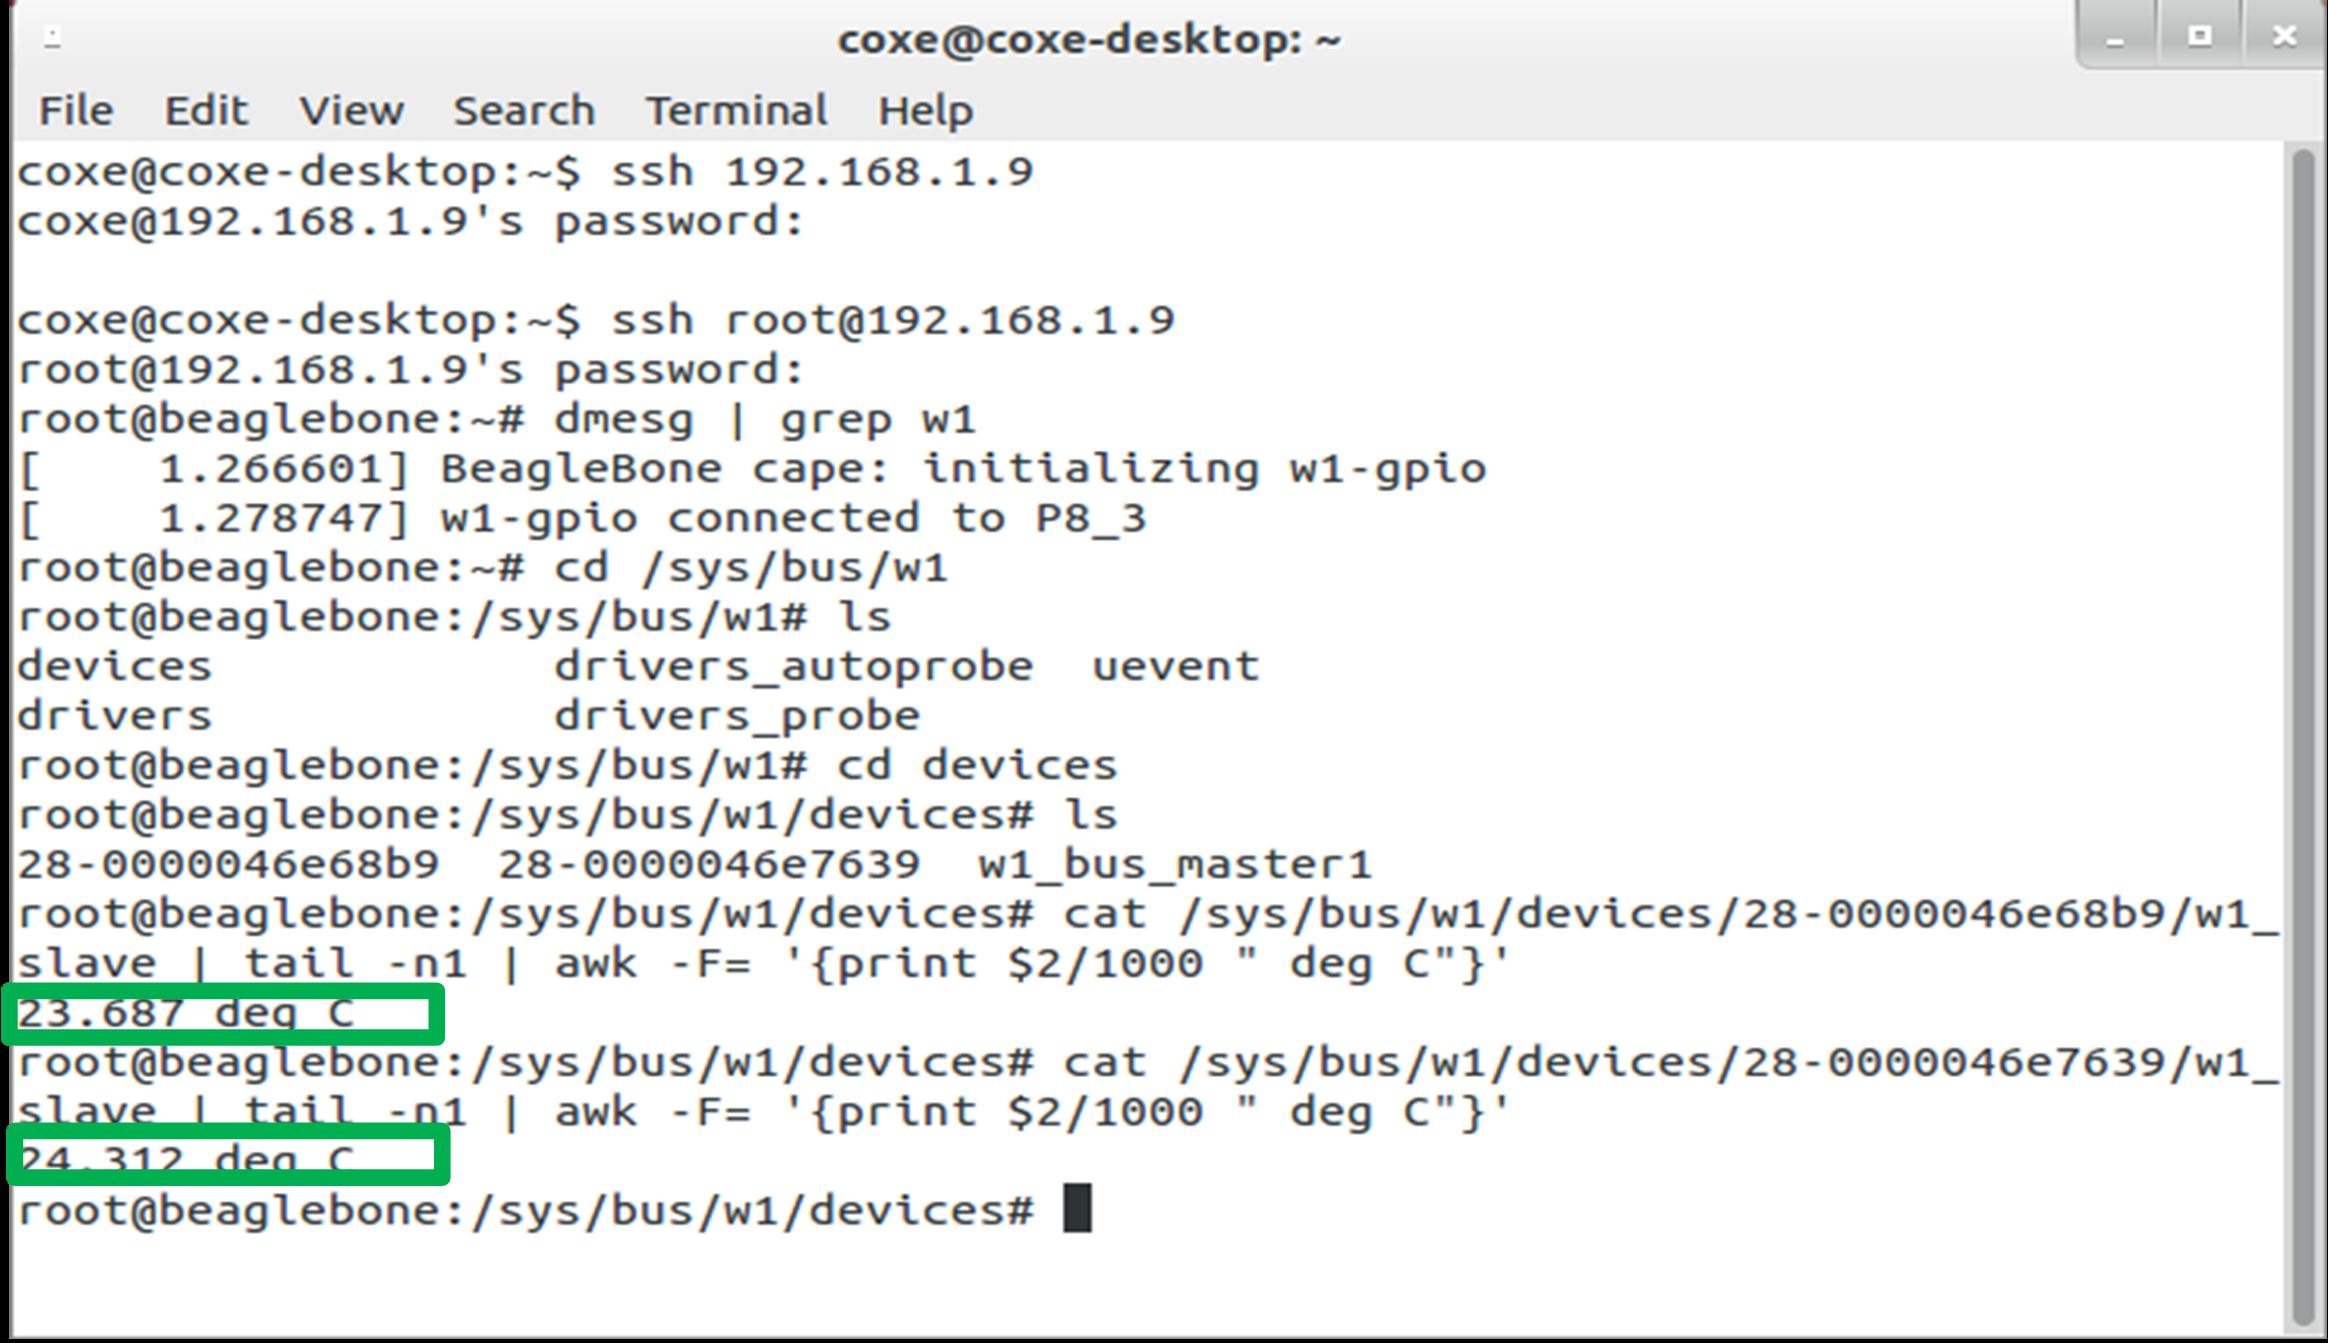
On Friday 5 April 2013 at 12:20 am, Tux the Polyester Penguin triumphantly declared: “Dum spero spiro!” after observing a string of valid temperature readings printed out in the debug console. Oddly, this Latin proclamation commonly attributed to Cicero happens to be the motto of the State of South Carolina. Although it translates literally to “while I breathe, I hope,” it makes more frequent appearances in modern English as “while there’s life, there’s hope.” As recounted in gory detail in Operation KEG Part 4: Houston, we have a problem, the BeagleBeer controller board, intended to play a pivotal role in the pimping of the Venture Café kegerator, had some design flaws. Tux and I burned the midnight oil in order to resurrect the temperature sensors, verify the proper operation of the beer flow sensors, and suss out the reason why the BeagleBone embedded computer fails to boot with the BeagleBeer board attached.
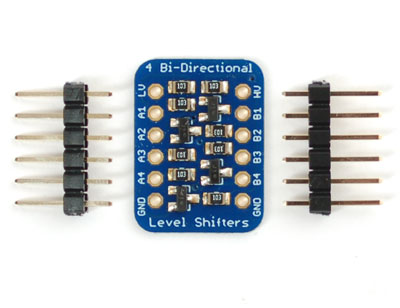
The Adafruit bi-directional level shifter, introduced at the end of the previous post, a tiny breakout board built from Fairchild Semiconductor BSS138 N-channel MOSFETs with 10K ohm pull-up resistors, enabled us to measure temperature on both the BeagleBeer and Coaster boards using the +3.3V BeagleBone one-wire interface.
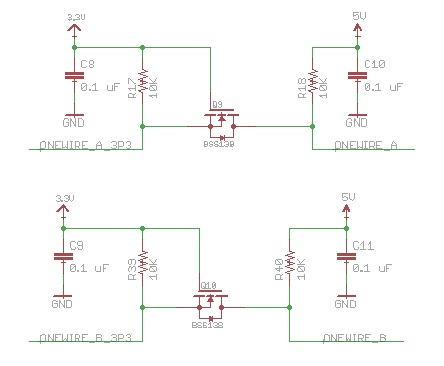
I discerned why this MOSFET approach succeeds in interfacing the +3.3V BeagleBone I/O line to the +5V one-wire data line on the temperature sensors without negative consequences by reading an application note from Philips Semiconductors. Arcane technical details aside, this retrofit works like a charm. As shown in the schematic snapshot below, I adopted a MOSFET level translation scheme for the one-wire sensors in BeagleBeer Version 2. All of the temperature sensors are connected in series to ONEWIRE_A. Although currently unused, the BeagleBeer also supports a second one-wire bus, ONEWIRE_B.
After learning of our success, Amy commented: “Wow, I don’t see any smoke or flames, or even any charring on Tux! Amazing.” Indeed.
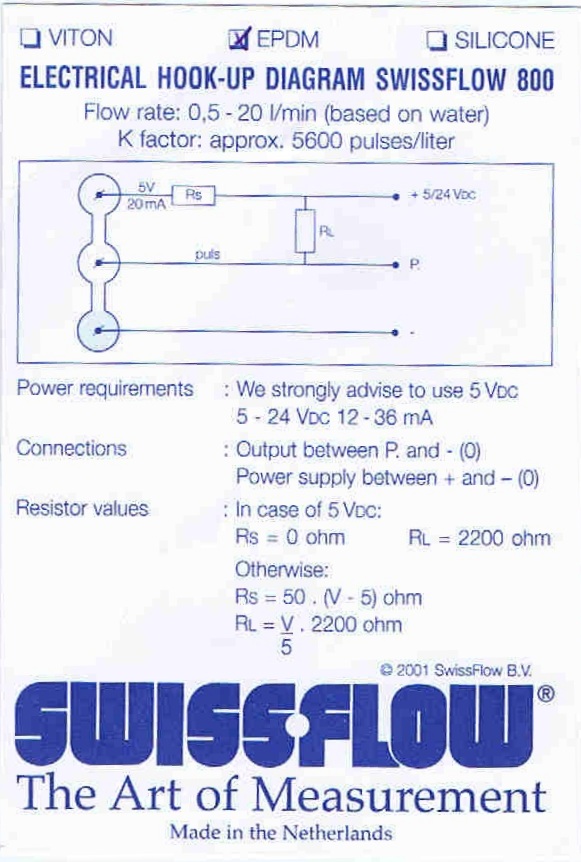
Not ones to rest on our laurels, we soon redirected our attention to the other key component controlled by the BeagleBeer, the flow sensors that measure dispensed beer volume. The Swissflow SF800 flow sensors have a 3-wire readout (+5-24 VDC power, ground, and data output line that requires a 2.2K ohm pullup resistor):
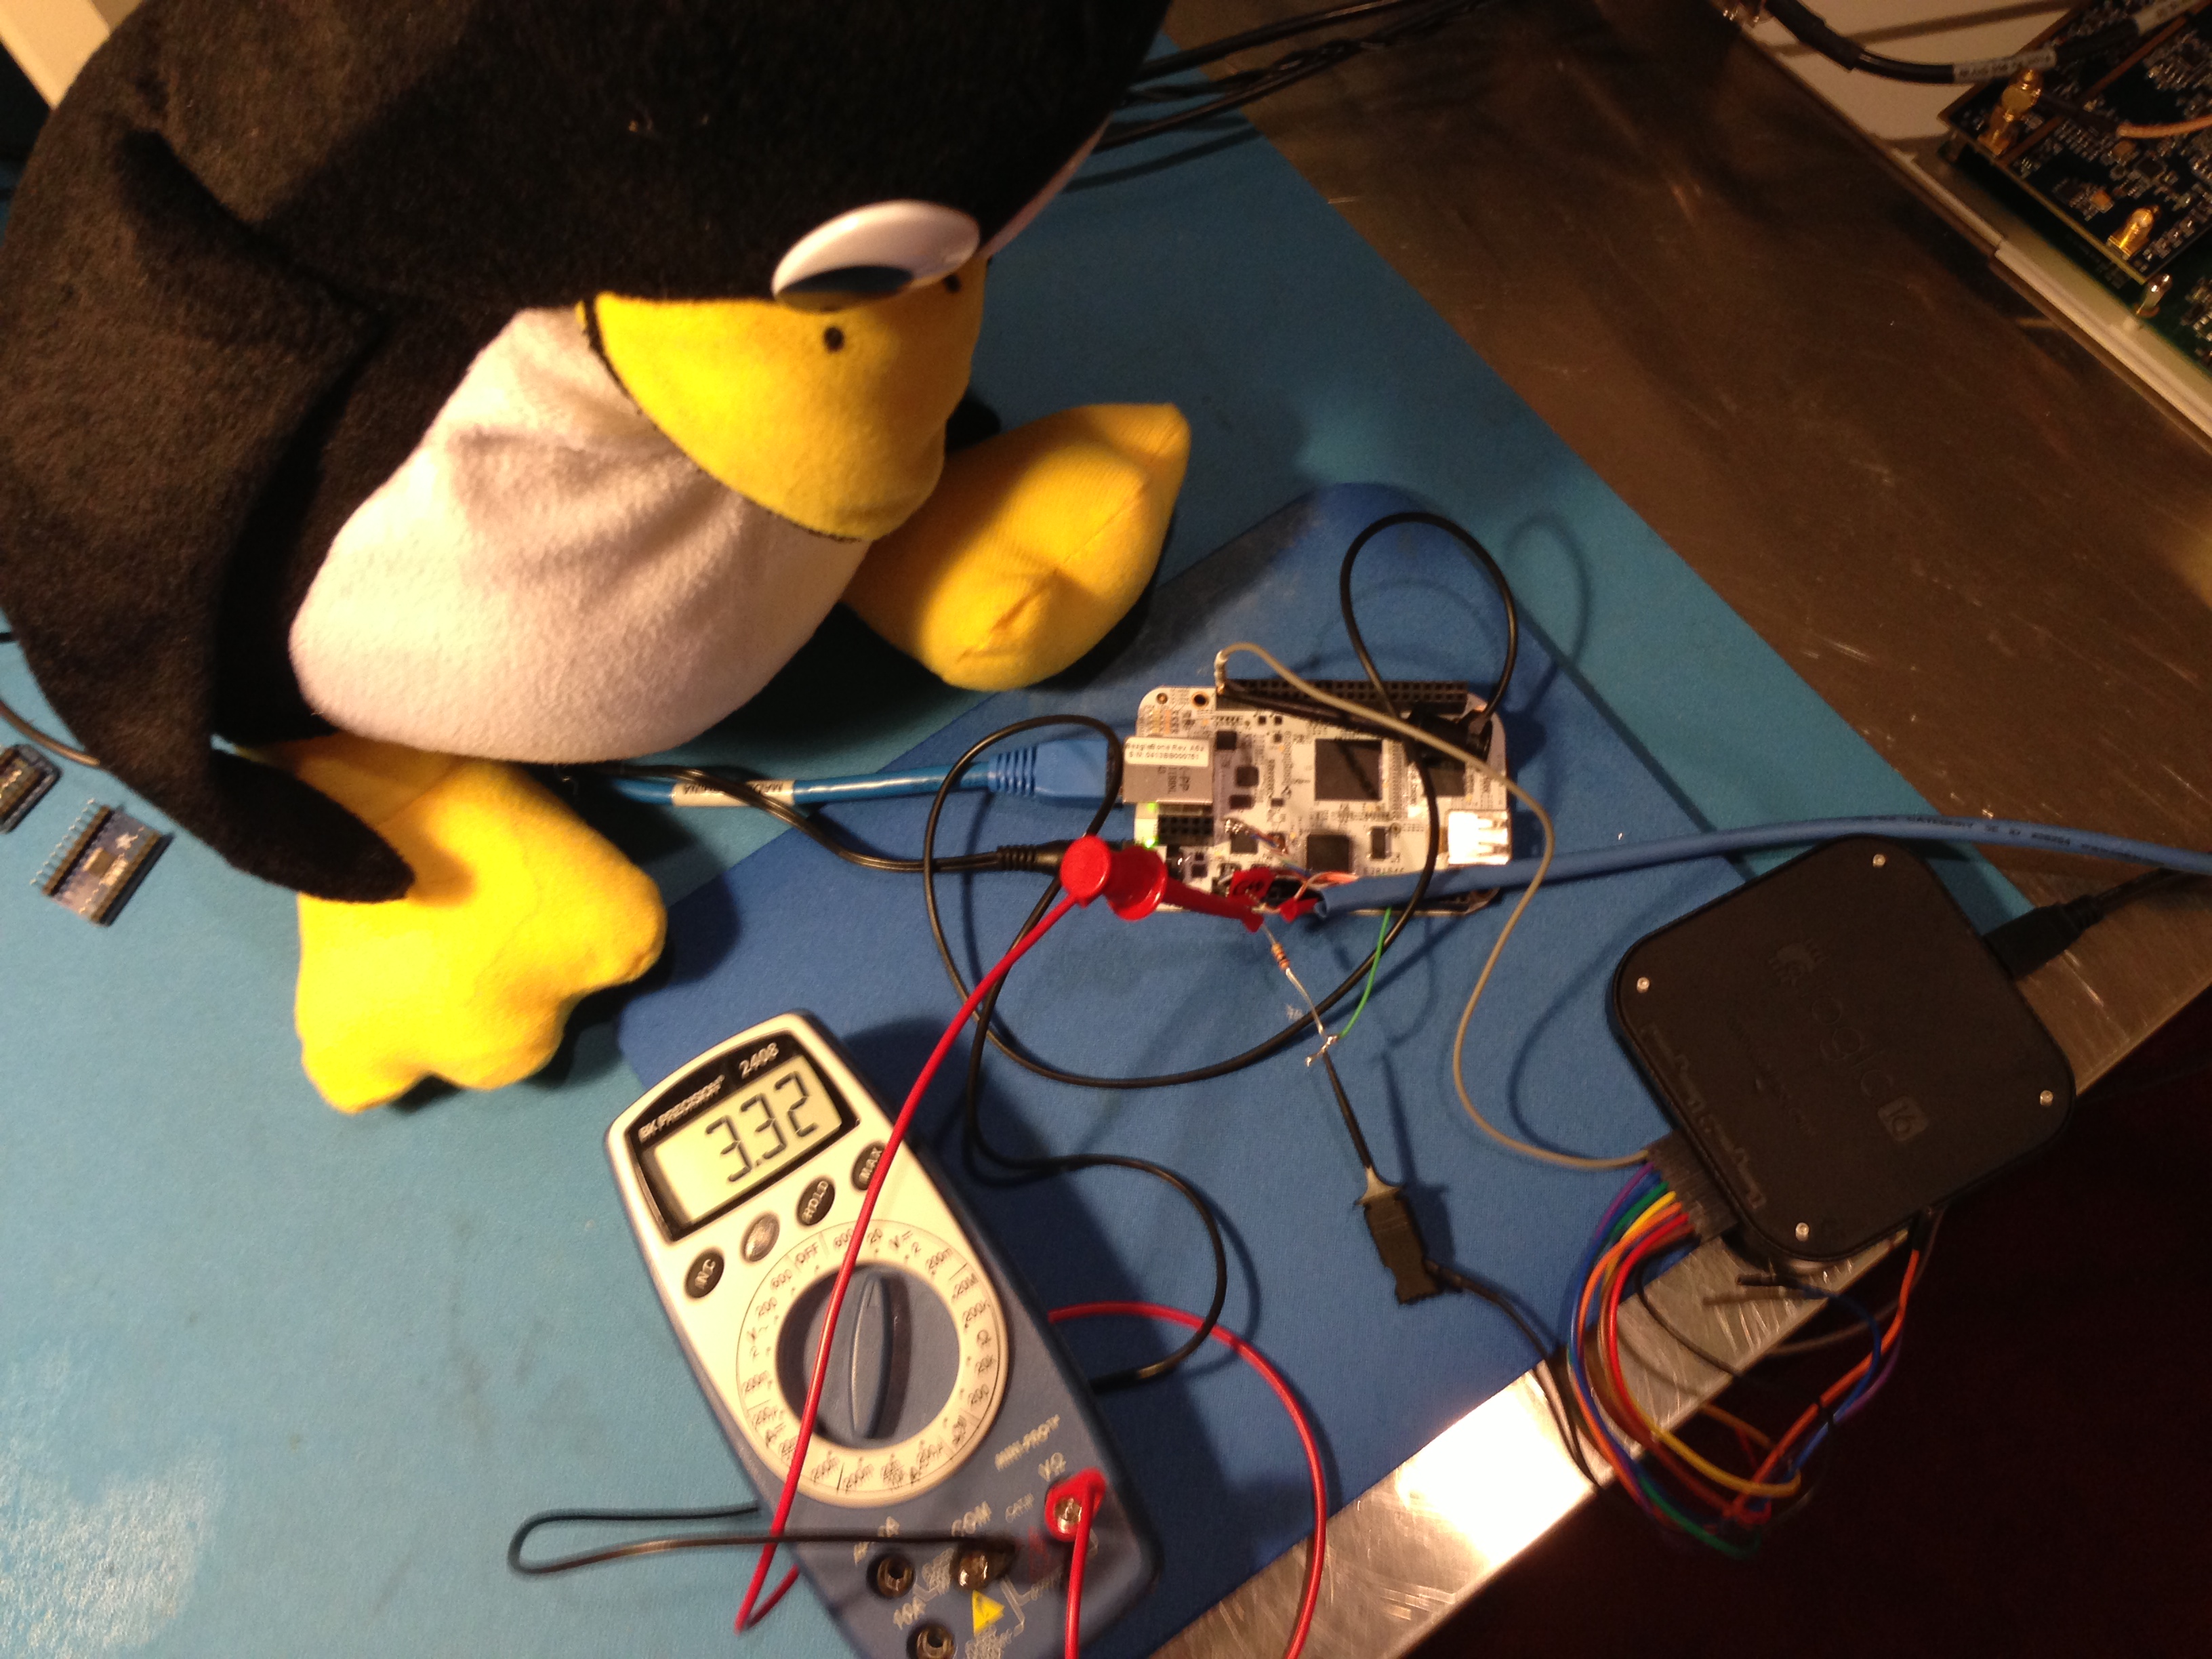
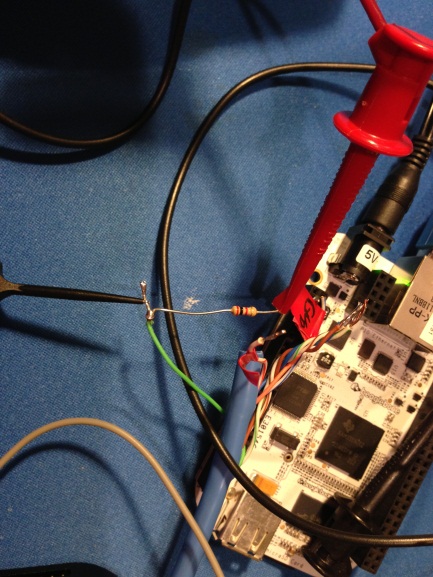
In the final configuration, the BeagleBone will count pulses on the flow sensor data line in order to compute volume, but our initial experiment involved simply verifying that the sensor in fact measured fluid flow. I hooked up the Coaster to the BeagleBone merely as a convenient platform for power and ground connections. I “borrowed” an old-school 2K ohm resistor from the lab at Analog Devices Lyric Labs that has long leads. The Cat5E Ethernet cable with the connector hacked off at one end again came in handy to interface the Kegbot Coaster and associated flow sensor to the BeagleBone and the Salae Logic 16 USB logic analyzer (the black box in the photo and a Christmas present from my brother). We made use of only one of the 16 available logic analyzer test lines to monitor to the output of the flow sensor. Tux inspects the data acquisition configuration:
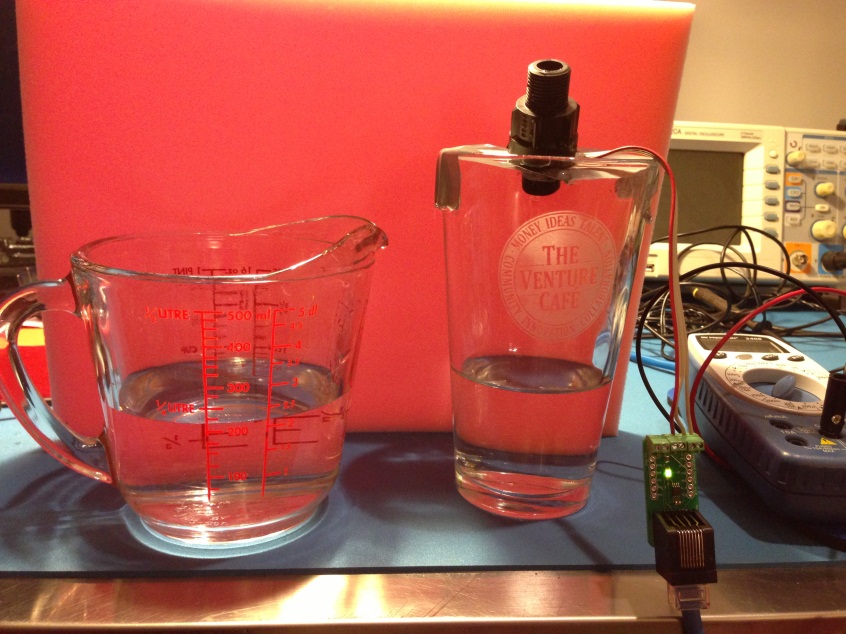
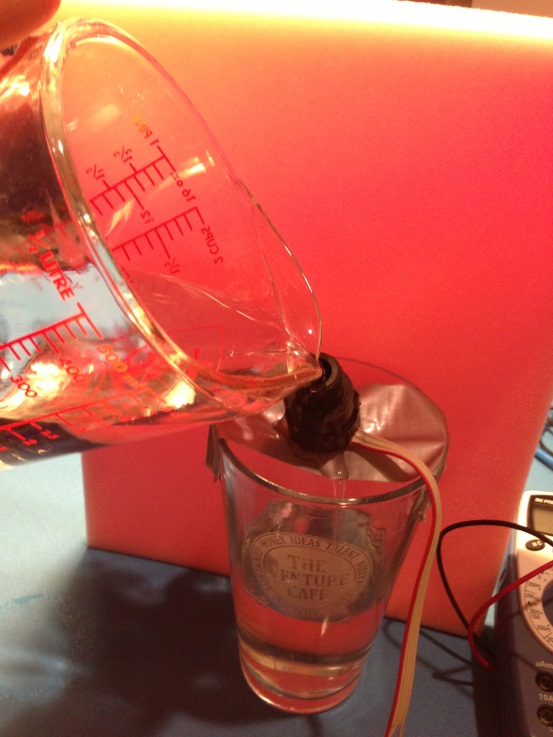
A stunning statement of the obvious– in order to measure fluid flow, we needed a mechanism to pour fluid through the flow sensor. Tapping into my inner MacGyver, I assembled a test setup using a measuring cup, water, duct tape, a Venture Café pint glass, and the flow sensor connected to a Kegbot Coaster board:
We conducted two experiments: 1) power the flow sensor at +5V and pull up the readout line to +5V, the manufacturer’s recommended configuration and 2) power the sensor at +5V and pull up the readout line to +3.3V, a BeagleBone-safe voltage level. [My homebrewing co-worker Sebastian Patulea suggested this simple, elegant readout scheme.]
After powering up the BeagleBone, it was time for the moment of truth…
Experiment #1 [+5V Logic Analyzer Output of Flow Sensor]:
Experiment #2 [+3.3V Logic Analyzer Output of Flow Sensor]:
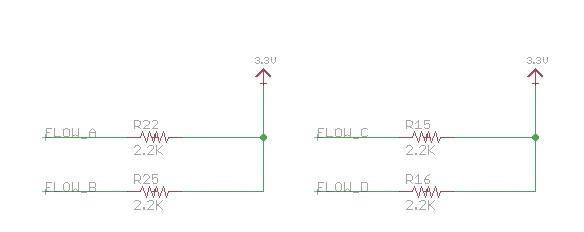
Success! We proved that we can power the SF800 Flow Sensor at +5VDC and pull-up the flow sensor output with a 2.2K ohm resistor to either +5VDC or +3.3VDC. The +3.3V configuration obviates the need for more complicated level shifting schemes, a change that I immediately propagated to the BeagleBeer Version 2 schematic:
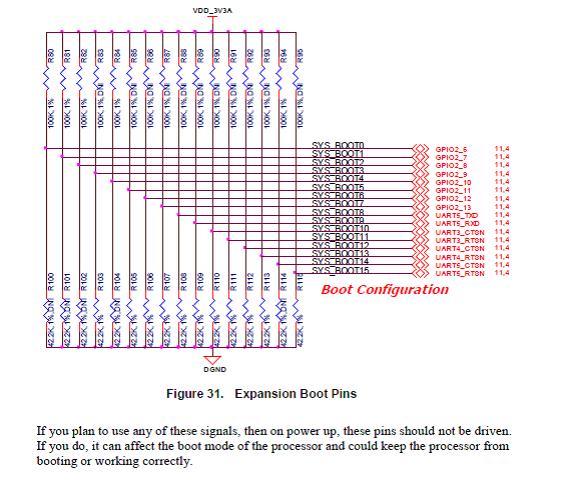
Before sending out the BeagleBeer Version 2 printed circuit board design for fabrication, we had to resolve one outstanding glitch. As mentioned in Operation Keg Part 4, the BeagleBone computer fails to boot when mated with a BeagleBeer board. Consequently, I had to power on the BeagleBone and then hot-plug the BeagleBeer. Although I repeated this step several times without incident, it is not a workable solution in the long term. As it turns out, had I RTFM (Read the F***ing Manual) at the outset, this problem could have been prevented. Behold page 72:
Leaving these 16 system boot I/O lines unconnected at power up should resolve the problem. In the BeagleBeer Version 1 schematic, pin UART5_RXD is mysteriously connected to ground, and pins GPIO2_11 and GPIO2_13 are connected to flow sensor status LEDs. In Revision 2, I assigned these signals to other pins on the BeagleBone header connectors.
I’ve completed the modifications to the schematic and layout (available on Github) and am on the verge of placing the order for BeagleBeer Controller Version 2 printed circuit boards from Sunstone Circuits. Sebastian has kindly offered to assemble the new BeagleBeer, sparing it the indignity of my mediocre soldering skills and saving the Venture Café Foundation several hundred dollars in outsourced manufacturing costs. Next, I intend to write some code for the BeagleBone to count pulses output by the sensor using GPIO interrupts. One liter of beer corresponds to 5600 pulses. A packetizer function will bundle these pulse per unit time readings with temperature measurements and periodically send the data to the Kegbot Android app over a UART to USB interface. Tux has decreed that we will perform our first live test with beer at Venture Café on or before Thursday 2 May 2013. Watch this space for updates!

